Teaching and Improving the Vertical Jump- Technique
Here at SAPT volleyball players abound. Volleyball players (and their coaches) often come to us with one goal: to increase their vertical jump height. Personally, I think there are several other skills that are just at important, i.e. upper body strength/power, ability to shuffle sideways- you'd be surprised how many girls I see who CANNOT do this- core strength and force transfer, and improving overall athleticism. But I digress.
While there are whole books devoted to increasing vertical jump, I'm only going to focus the basic technique that will, honestly, improve the jump considerably. I think it should be obvious that to increase height, one must also increase their strength (ahem, lift heavy things) but that's not today's focus. Next week, we'll look at specific strength training exercises.
Our typical age range for VB players is 13-18 and this is the typical jump technique we see:
Yes, this is RGIII, and yes I'm comparing his jump form to a 15-year old volleyball player's form.
Similar to the above picture, when we evaluate a volleyball player 99% of the time we see valgus collapse (knees coming together- helloooo ACL tear!), knee-flexion dominance, loosey-goosey core, and usually, minimal arm swing involvement.
All these work against the poor girl and her goal of leaping high aloft to spike the ball into her opponent's face. I'm going to briefly break down the mechanical flaws previously mentioned and then present a few drills we use to re-pattern the jump to create leaping, jumping, ball-spiking machines.
1. Valgus collapse- When one's knee caps touch, it results in a decrease in power since the quads, hamstrings, and glutes are at a mechanical disadvantage. Try it, you won't get up very high. What's worse, is it dramatically increases the risk of an ACL, or two, tear. As you read this, stand up, bend your knees, then put them into valgus collapse. Do you feel a little bit of torque on your knees? Now imagine launching into the air and landing again (which landing is roughly 2-4x bodyweight force) in that position. Yikes. Is it any wonder that many volleyball players have knee pain? The knees should be neutral, aligned directly over the 2nd or 3rd toe.
2. Knee/Quad Dominance- Most girls are quad dominant. It's not their fault, that's just how they grew up. At SAPT we aim to change that. As any long-time reader of our blog knows, it's all about dem glutes!
The posterior chain, that is, the glutes and hamstrings, are where it's at when it comes to lower body power production. The glutes and hamstrings are way, way, WAY better at extending the hip than the quads (mostly because, the quads can't do it at all). Quads are important in the vertical jump- as is knee extension- however, the power comes from the back. Athletes who don't tap into their posterior chain will remain on the lower end of the VerTec.
3. Loosey-Goosey Core- That is a technical coaching term by the way. A lot of our VB players don't know how to stay tight during the take-off. All the power they applied to the floor disseminates and leaks out at all the loose points so they wind up going nowhere. Imagine a cooked spaghetti noodle trying to jump and that's what it looks like.
4. Little to no arm swing- How people learn to jump without using their arms is a mystery to me. The arms help increase velocity at take off by storing potential energy in the arms and then releasing it upon take off. They also help "pull" the body upwards. Don't believe me? Some one did a research study and you can read the abstract here.
So, how do we fix all this?
First we teach hip hinging without knee valgus collapse. The easiest way we've found is employing a dowel rod.
Coaching points: 1. The athlete should maintain contact with the dowel rod at three points: head, mid-back, and tail bone. 2. Knees should be behind the toes. I will put my hand in front of their knees to ensure they sit back in the hips and not bend forward from the knee. We also coach neutral knee alignment here.
Next, we put the hip hinge in context of a take-off/landing, but no jump. By eliminating the jump, the athlete can focus on his/her form.
Coaching points: 1. Arm swing, arm swing, ARM SWING! I tell the athlete to pretend she's pushing through water. The arm swing should be forceful. 2. The hip hinge should be there, the knees should be neutral and behind the toes, just like the dowel rod hip hinge drill. I use the analogy of booty-bumping their friend. Girls get this, guys don't. I guess fellas don't booty bump. 3. This is a perfect time to teach tightness. The athlete's core should be taut and the spine should remain neutral. This is where the limp noodles happen, so be vigilant!
After the athlete masters the arm swing + hips, we move to a paused vertical jump. Again, the pause is there for the athlete to focus on the form before taking off. If they're not in the right position, they can fix it- or rather, you the coach can fix it.
Coaching points: 1. Stress to the athlete that it's NOT about the height of the jump, but the technique. I've seen girls with great technique fall to pieces as soon as the jump is part of the equation. 2. The landing should look like the take-off 3. Hammer all the above mentioned technique points.
Practice makes permanent, not perfect.
These three drills are SAPT's basic jump technique teachers. We've seen great results and many girls add inches to their vertical just by becoming more efficient at the jump itself. I'd also like to point out that none of these use fancy equipment. So often it's the simplest way that is the most effective!
Next week we'll take a look at both strength exercises to increase vertical and some more specific drills for power production.
5 Tips for the Vertical Jump
As mentioned a bunch of times by now, our theme for this month on the blog is Training for Overhead Athletes. The holy grail of performance indicators for volleyball players is, without doubt, the VERTICAL JUMP and with good reason, the sport is won or lost in the air, so an athlete will clearly have the advantage the longer they can stay in the air to execute their portion of the play. Stevo did a great job talking about the pros and cons of the vertical jump as a test itself back in January 2012. You should check it out.
Now, if you read that post, you will clearly understand the limits of the test, but you may still be wondering "Okay, okay, Stevo... I get it. But can you PLEASE give me some tips on how to jump higher. I promise I won't vert test every day, nor will I ever allow my knees to cave!" Okay, since you've promised not to break the golden rules, I'll go ahead and give you my top 5 for improving your vertical jump. Please note, they are in order of basic to advanced:
- Get Stronger - you're entire body needs to be stronger to jump higher, but obviously some heavy emphasis on the lower body is required. And, NO, it's NOT your calf training routine that will make the difference. Think hips and hamstrings. You can pretty much read any other post on this site to learn how to do that.
- Try - yes, I'm throwing this out there: to jump higher, you must commit to doing so and that involves actually trying to achieve #1. Focus on it, embrace it, and it will happen.
- Practice Jumping Variations - Not just vertical jumping, but jumping in all planes of motion with as many variances as you can think of. And, for the love of your joints, please don't execute these with poor form and at 100% intensity/effort. You must be smart and your body will get much more from refining and perfecting technique than from being a hard-headed fool.
- Short Sprints - running is a plyometric activity, so add in some very short, high-intensity sprints.
- Consider Re-Working your Genetics - this is the "advanced" tip... what do I mean? At some point, you may need to acknowledge that your vertical jump dreams may not be achieved in 12-weeks and sadly (believe me, I know from personal experience) there's no amount of training that will fix the genes you were dealt. Once you realize it will be a tough road, go ahead and start back at #1.
Vertical Jump Initial Testing. Is it Really the Bees Knees?
Given that we train a lot of high school volleyball players at SAPT, I'm inevitably faced - on a weekly basis - with two questions that continually pop up from the players, or, more commonly, the parents of the girls: 1) Why aren't you testing my/my daughter's vertical jump on Day 1 as a baseline measurement?
2) Why aren't you doing a lot of plyometric drills with me/my daughter?
 (Note: Although all this is being discussed with regards to volleyball, many of the same principles can be applied to other sports when it comes to verticals and improving change of direction speed)
While the answers to these questions could easily be an entire article series on their own, I'll do my best to summarize my points here.
1) The vertical jump simply isn't an appropriate test for most (but not all) high school athletes. Not only are there other methods of assessing one's athletic potential, but continually making an athlete jump up and down with maximal effort can be dangerous. Let me briefly explain.
To put it simply: Many high school athletes lack the strength and neural control to execute a solid vertical jump. Just watch nearly any volleyball player do a standing vertical jump attempt on the vertec. However, instead of focusing on their torso, arms, and where their hand smacks the vanes, watch their knees during the countermovement phase of the jump (as they transition from moving down to moving up). What you'll see often resembles my replication in the video below:
May not have noticed that the first time you watched your kid jump, huh? Essentially the athlete is limiting how high they can jump by allowing "force leaks," to take place, in which they end up in sub-par biomechanical position for force production. Not only that, but it is dangerous for their knee health (along with other passive restraints in the lower extremity) to continue practicing like this.
While there are multiple root causes for this phenomenon, a good strength coach can often add a few inches to the athlete's vertical jump by merely teaching the athlete to keep themselves in powerful alignment during the countermovement phase. This involves much more than simply shouting at them to keep their knees out, BTW!
2. Plyometric drills are not a "one size fits all" approach. When you're administering individualized program design for each and every person in the room, as we do at SAPT for all our athletes, it's not a matter of just throwing a bunch of adolescent girls into the same cattle call drills.
Very precise decision making must be made in order to administer and match the exercise to the individual. In fact, any perceptive strength coach who's been in the industry has recognized by now that the more "advanced" and technical exercises (be it jump training, sprint training, medicine ball drills, olympic lifts etc.) will do NOTHING for the athlete unless he/she already possesses the necessary physical and technical preconditions for performing these drills!
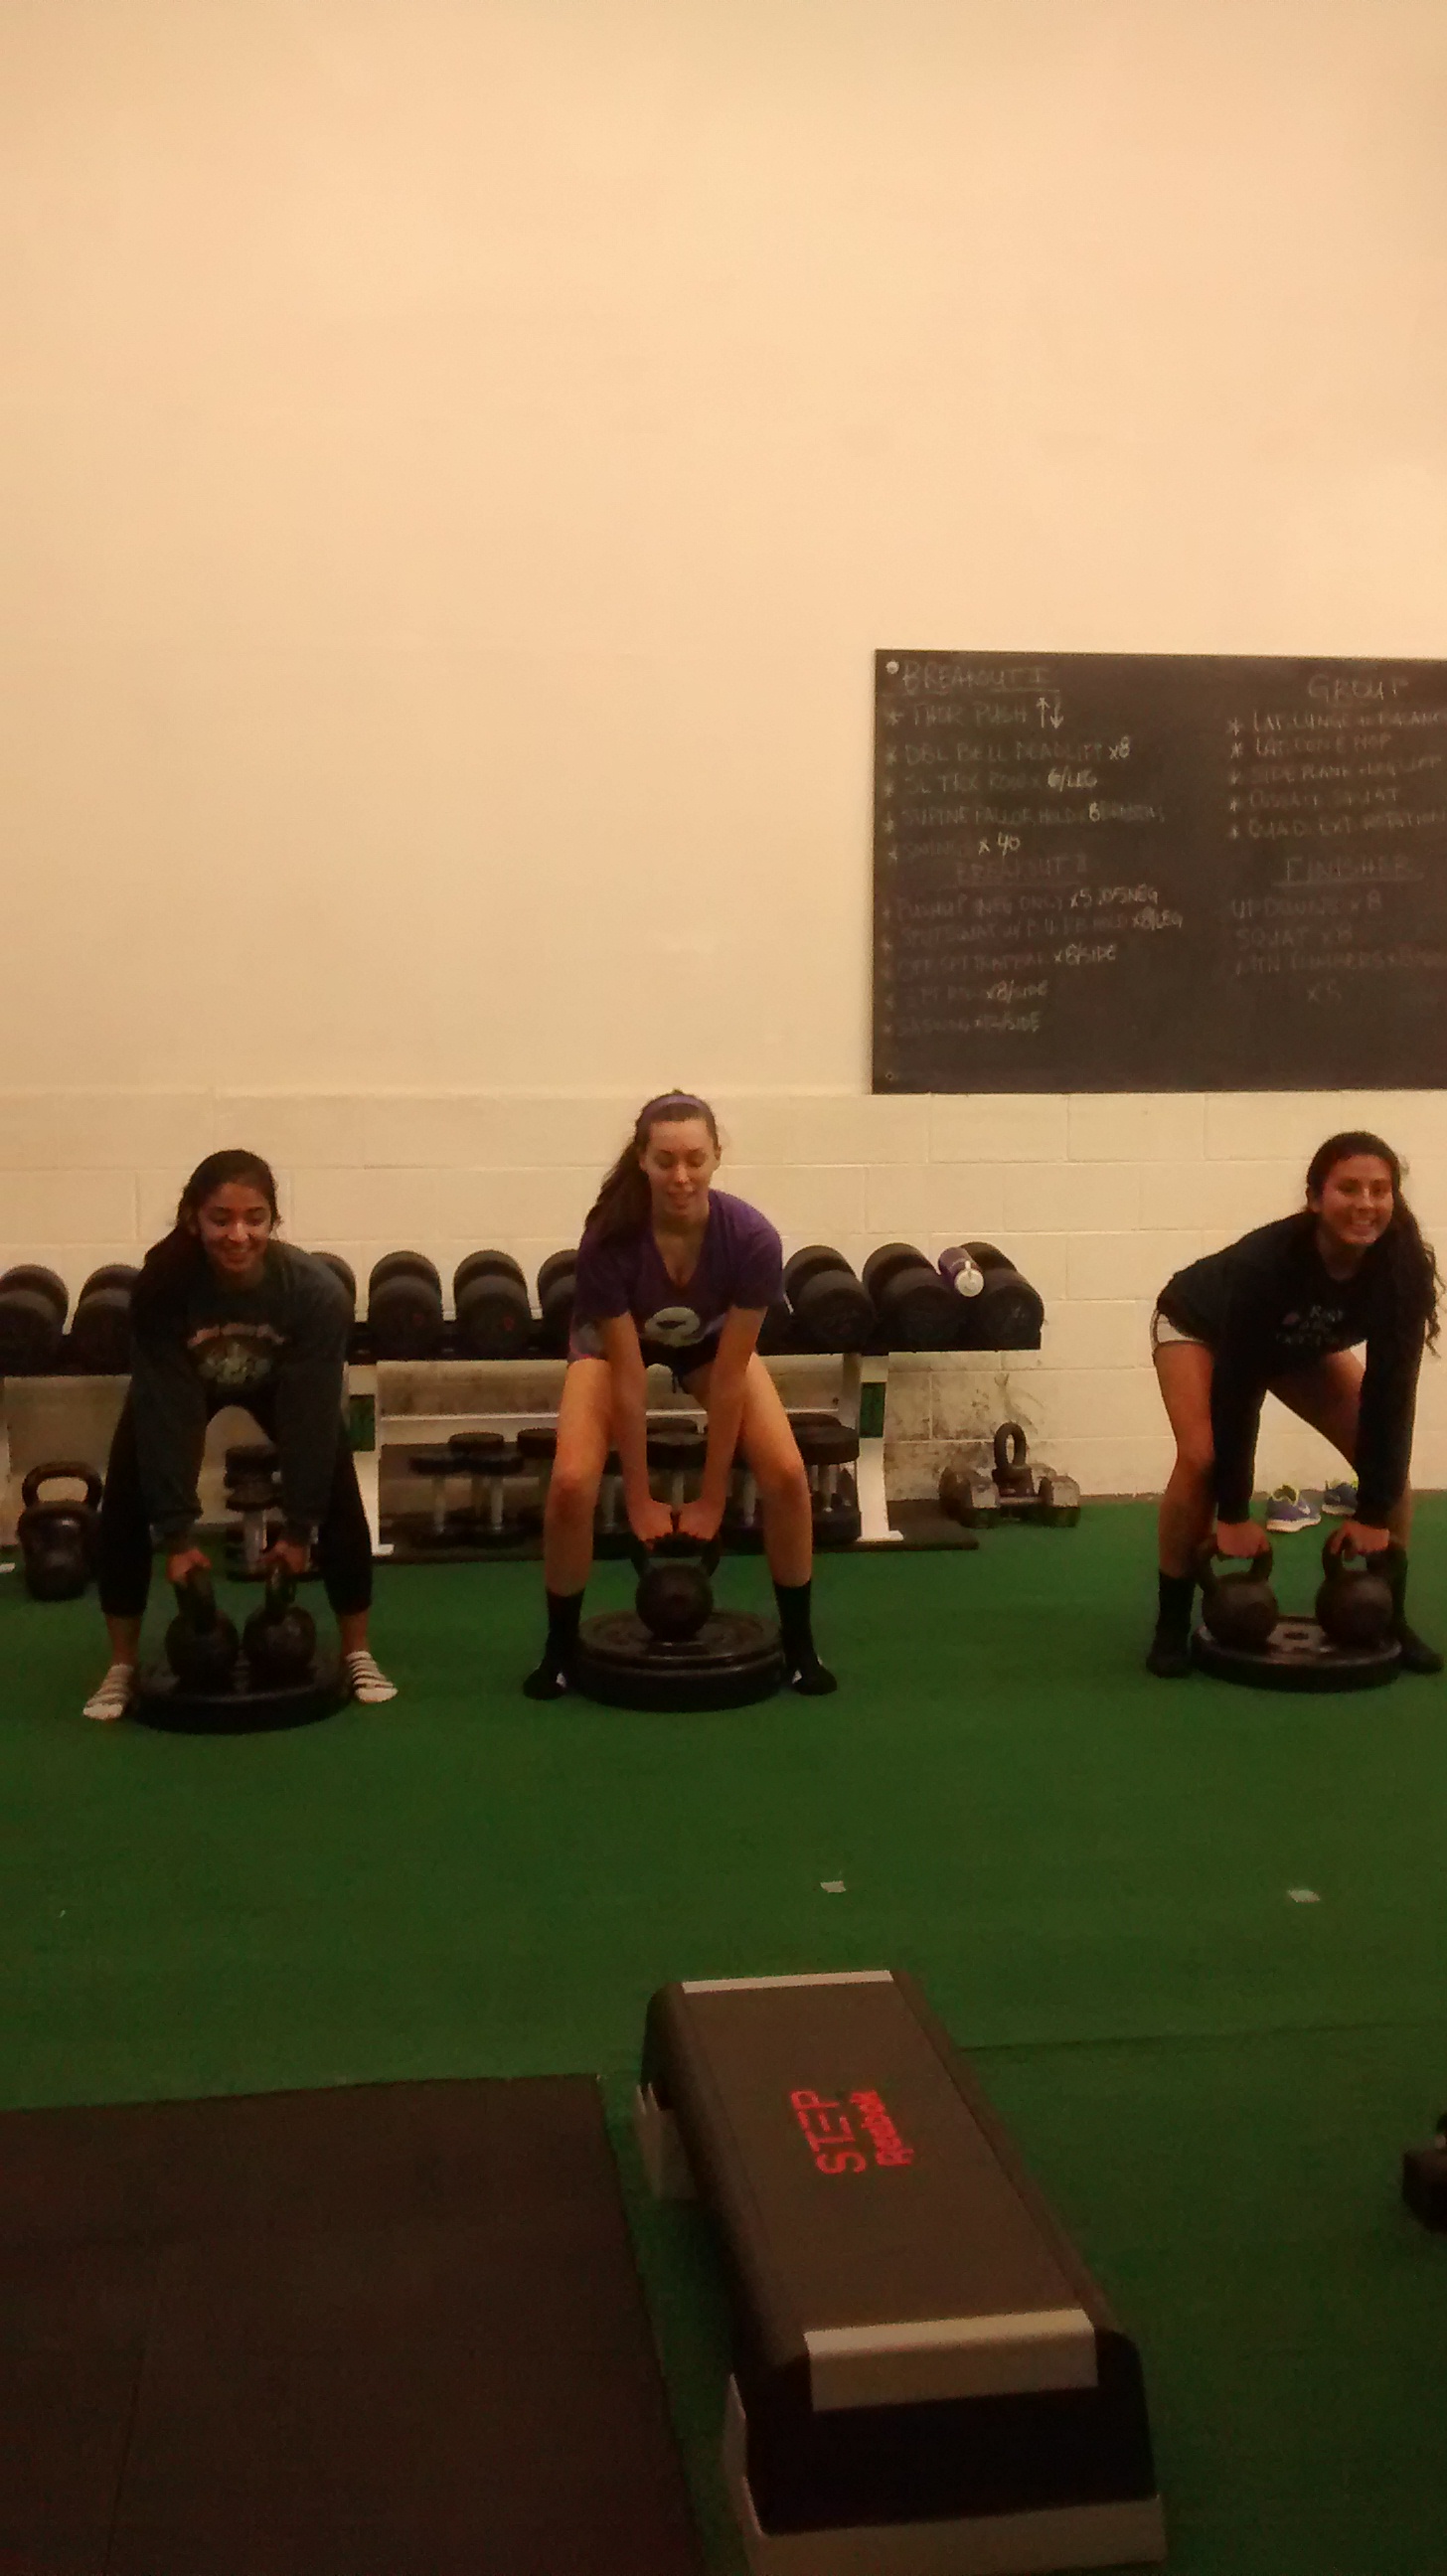
As a quick example, we run the strength and conditioning for the majority of the Woodson high school volleyball team (shown in the picture below), who recently won the the district title - and continued to the regional finals and state tournament - for the first time in school history. However, we still give each and every girl on that team an individualized training plan, and this includes their jumping and plyo drills (not the same thing, by the way).

Although all of them together make up a great team, some possess a greater degree of spatial awareness, neural coordination, and strength than others. It would do every individual a disservice to throw them all in the same drills together rather than match the appropriate drill to the person.
Bottom line: Some athletes will be ready for true plyo drills, others will be not-so-ready. A good coach will be able to evaluate the individual and determine where they need to begin along the plyo continuum (if at all).
So, What To Do?
While it is beyond the scope of this post to delve head-first into the myriad progressions/drills that are ideal and appropriate to use, I can at least say that 90% of the athletes I've worked with need to begin by with some variation of drill force reduction. Developing eccentric force absorption and muscle contraction will lay the framework for enhanced concentric strength potential.
What do I mean by this? You can't optimally PRODUCE force until you can adequately ABSORB force. In a vertical jump, the first move that takes place is the force reduction component (lowering yourself to jump) before the actual force production phase (extending body to accelerate upward) during which you leave the ground. The athlete will only be able to accelerate quickly if they are able to efficiently decelerate FIRST.
An example of a Level 1 force absorption drill would be an altitude drop with a stick landing, as shown in the video below. These will drill landing mechanics, develop yielding strength, and create a strong excitation of the CNS.
It looks simple and easy, yes, but you'd actually be surprised at how many top-notch athletes cannot land properly upon initial testing! It is not uncommon to see athletes having difficulty landing properly from a mere 5" box height.
From there, you'll want to progress to elasticity jumps with variable landings in order to the teach the athlete to use his/her active support structures (muscles and tendons) to minimize stress on the passive support structures (bones, ligaments, labrums, etc.).
This will help prepare them the more "real life " scenario come game day.


