Squat

Common Exercise Corrections: Lower Back Pain in Deadlifting and Squatting

I hope everyone fared hurricane Sandy safely! We"re so thankful that worst of it bypassed the DC area!! Thoughts and prayers go out to those in NY and NJ which seemed to have brunt of Sandy"s fury poured out upon them!

Secondly, a GINORMOUS congratulations to the following SAPT ladies who made the all-district volleyball teams:

1st team- Caitlyn, Eliza and Hannah

2nd team - Kenzie

Honorable mention- Clare, Maggie and Carina

Congratulations ladies!! All your hard work in here paid off!

Anyway, onward and upward. As stated in my previous corrections post, it"s usually not the exercise that"s causing pain, it"s the execution.

Today"s topic: Lower back pain/irritation during a squat or deadlift.

From the outside eye, everything looks great: Lower back is tight and has a slight arch, the upper back is stiff, the hips are moving back like they should... but there"s a niggling pain in the lower back. What gives?

This is a perfect example. Kerry looks pretty good for the most part, but she had a little bit of a pain in her lower back as she pulled. (thankfully she told me. Lesson to trainees: coaches, though we are Jedis, we can"t always tell if you"re having a pain. Speak up!) As was the case with Kerry, more often that not, the athlete isn"t bracing the abs or is not using the glutes as much as (s)he needed.

Solution:

- "Brace your abs like Now we’re back to college student credit cards based systems, pretty much the world over. you"re about to get punched" is a standard cue I tell athletes. We incorporate bracing drills, to learn proper bracing technique, but this cue will work in a pinch if the athlete hasn"t mastered bracing yet.

- "Start squeezing your glutes/cracking the walnut BEFORE you pull off the ground." (alternately, in a squat, I tell the athlete to "spread the floor with their feet" on the way down and the way up) This cue usually makes the athlete more aware of their glutes and helps them think about using them more. By activating the glutes BEFORE the pull, it acts like a primer button for a lawn mower, it gets the engine ready to work! When they glutes are doing their job well then there"s much less strain on the lower back musculature.

Again, there isn"t much visually that changed between the first and the second video, but Kerry didn"t have pain and the pull looked much more solid and confident.

So, if you have a nagging pain, brace and crack the walnut! 9 times out of 10 that will clear it all up!

Lessons the Shirt Taught Me

category46
category46

Things got real weird on Friday night training with Ryan. What was scheduled to be a regular heavy bench session turned into my first time putting on a bench shirt. I have helped Ryan with his powerlifting gear many times before, but I've never really experienced first-hand how it feels to be in a squat suit or a bench shirt. Lesson #1: It's Not Comfortable

I learned very quickly that it doesn't feel too awesome being in the shirt. Getting it on was a pain, but I knew that was coming. I was used to being the guy on the other side of the shirt trying to force the shirt onto another human being, so I expected some discomfort. Luckily however, it was Ryan's old single-ply shirt and his enormous gunzzz stretched out the sleeves pretty nicely, making it a relatively smooth process to put it on. By the time we got the shirt on and got the sleeves and seams exactly where we wanted them I already wanted to take it off. It's super tight and forces you into a weird mummy-like position with your arms dangling out in front of you. You can't really do much about this situation until the shirt comes off.

I found myself rushing the rest periods between sets because I was more focused on getting the final set over with so I could take the evil thing off.

Lesson #2 I Couldn't Keep My Arch

The arched back seen in bench pressing is often demonized as being a flaw in technique or disadvantageous when trying to target the pecs. Whatever. I use an arch when benching because it helps to keep me tight on the bench, allows for better leg drive and provides better leverage overall to perform the lift. When benching "raw", I feel pretty confident about my arch, and I can keep it tight during the entirety of the lift. When benching in the shirt, however, I found myself losing my arch midway through the descending portion of the lift. This leads me to lesson #3...

Lesson #3 My Upper Back Is WEAK!

The shirt exposed my deep dark secret that my upper back is not up to par. When bench pressing in gear, the bar will not come down to your chest without a fight. You literally have to PULL the bar down while forcing yourself to maintain a proper arch. This takes some serious upper and mid back strength that I just didn't have. I could feel my arch collapsing and my once tightly packed shoulders becoming... not so tightly packed. Even when benching raw I always remember the cues to "row the bar down with the lats" and "keep the upper back tight," and I felt that I understood. The shirt let me know that what I originally thought was "tight enough" was an epic fail waiting to happen.

Although the shirt made me feel like a total n00b I walked away from the session with a lot to think about and a lot learned about my bench technique. I probably got some pretty good "overload" stimulation from the heavier weights that the shirt enabled me to use as well. Until next time, I'll just keep hammering away at heavy rows and pull-ups.

For your entertainment, here are a couple videos from the Friday night bench party.

Read This! Training Tips from a Toddler

A huge portion of my job boils down to this: teaching adolescents and adults alike how to move with the same precision and excitement that comes inborn for all of us, but that most of us lose over time. Forget about performance or a one-repetition squat maximum… I’m talking about re-teaching the basics of pushing and pulling. It sounds totally cliché, but watching my 2-year old daughter’s development across all platforms is truly a joy for me. I could, of course, talk endlessly about her cognitive development, but I’ll try to exhibit some self-control and keep this limited to the lessons we would all be well served to apply to ourselves in our physical training:

1. Focus: Last week Ryan and I picked up the kids from daycare and were walking home. As we crossed our neighborhood pool’s parking lot, Arabella suddenly shouted “FAST!” and took off running! I laughed to myself and thought how wonderful and meaningful that short exclamation was.

She wanted to run fast, got into the proper mindset, and sprinted. How simple this is! And yet, so often I have to coach athletes in the “how” of getting themselves into this same focused mindset.

2. Go through a full range of motion: Toddlers are notorious for having impeccable squatting form. Part of this is because they’re all built like power lifters (short legs, long torso, and the classic belly), but even after we lose that physique, full-ROM should be the RULE, not the EXCEPTION. You’ll be strong, stable, and have some pretty excellent mobility all around.

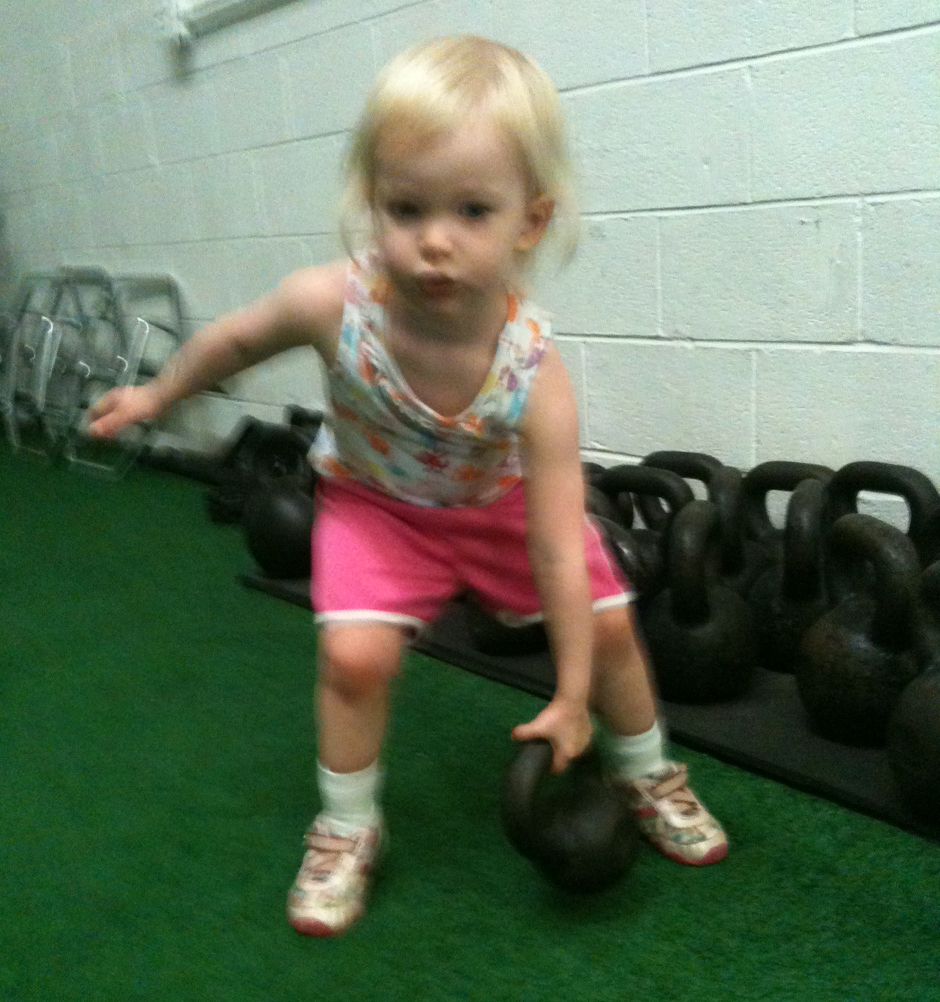
3. Pick-up heavy stuff: Arabella walked up to SAPT’s line of kettlebells on Sunday, grabbed a 10-pounder and carried it a few steps. It was definitely heavy for her, but she moved it a few feet and was satisfied.

4. Be athletic: Run, jump, kick, throw. Doing these things every once in a while is fun and inherently human.

5. Show enthusiasm for what you’re doing: Adults who pine all day about going to the gym at night are setting themselves up for failure. Accept that humans are meant to be active and strong. Once you do, maybe you’ll start looking forward to doing something other than being witness to your body wasting away.

The next time I squat, I’m considering yelling out “STRONG!” before the set – I may get a few looks, but I guarantee it would do me some good.

Are Your Getting the Most Out of Your Squat?

I recently bought the 3rd edition of Starting Strength by Mark Rippetoe.  As I read through it I had a light bulb go on when reading the squat section more specifically when he refers to body positioning based on your chosen bar placement, high bar or low bar.  Rip is a huge proponent of the low bar squat (I am as well) however a lot of people find this position extremely uncomfortable so they utilize a high bar, which is perfectly fine.  In order to make your squat efficient as possible however, you need to make sure you are utilizing the proper leverages. Rip does a great job explaining just how to do this and what your body position should look like based on your bar placement.  I decided to take a very little snippet from the book about this subject and talk about it a little more in hopes of helping your squat out.  Please keep in mind this is all referring to a normal free squat with a straight bar, not variations there of (cambered bar, safety squat bar, etc.).

To kind of reiterate the point you can observe the pictures below to get a better feel for body position based on bar placement. For more in depth information I strongly recommend purchasing Starting Strength.