Athlete Spotlight: Jake Shankman
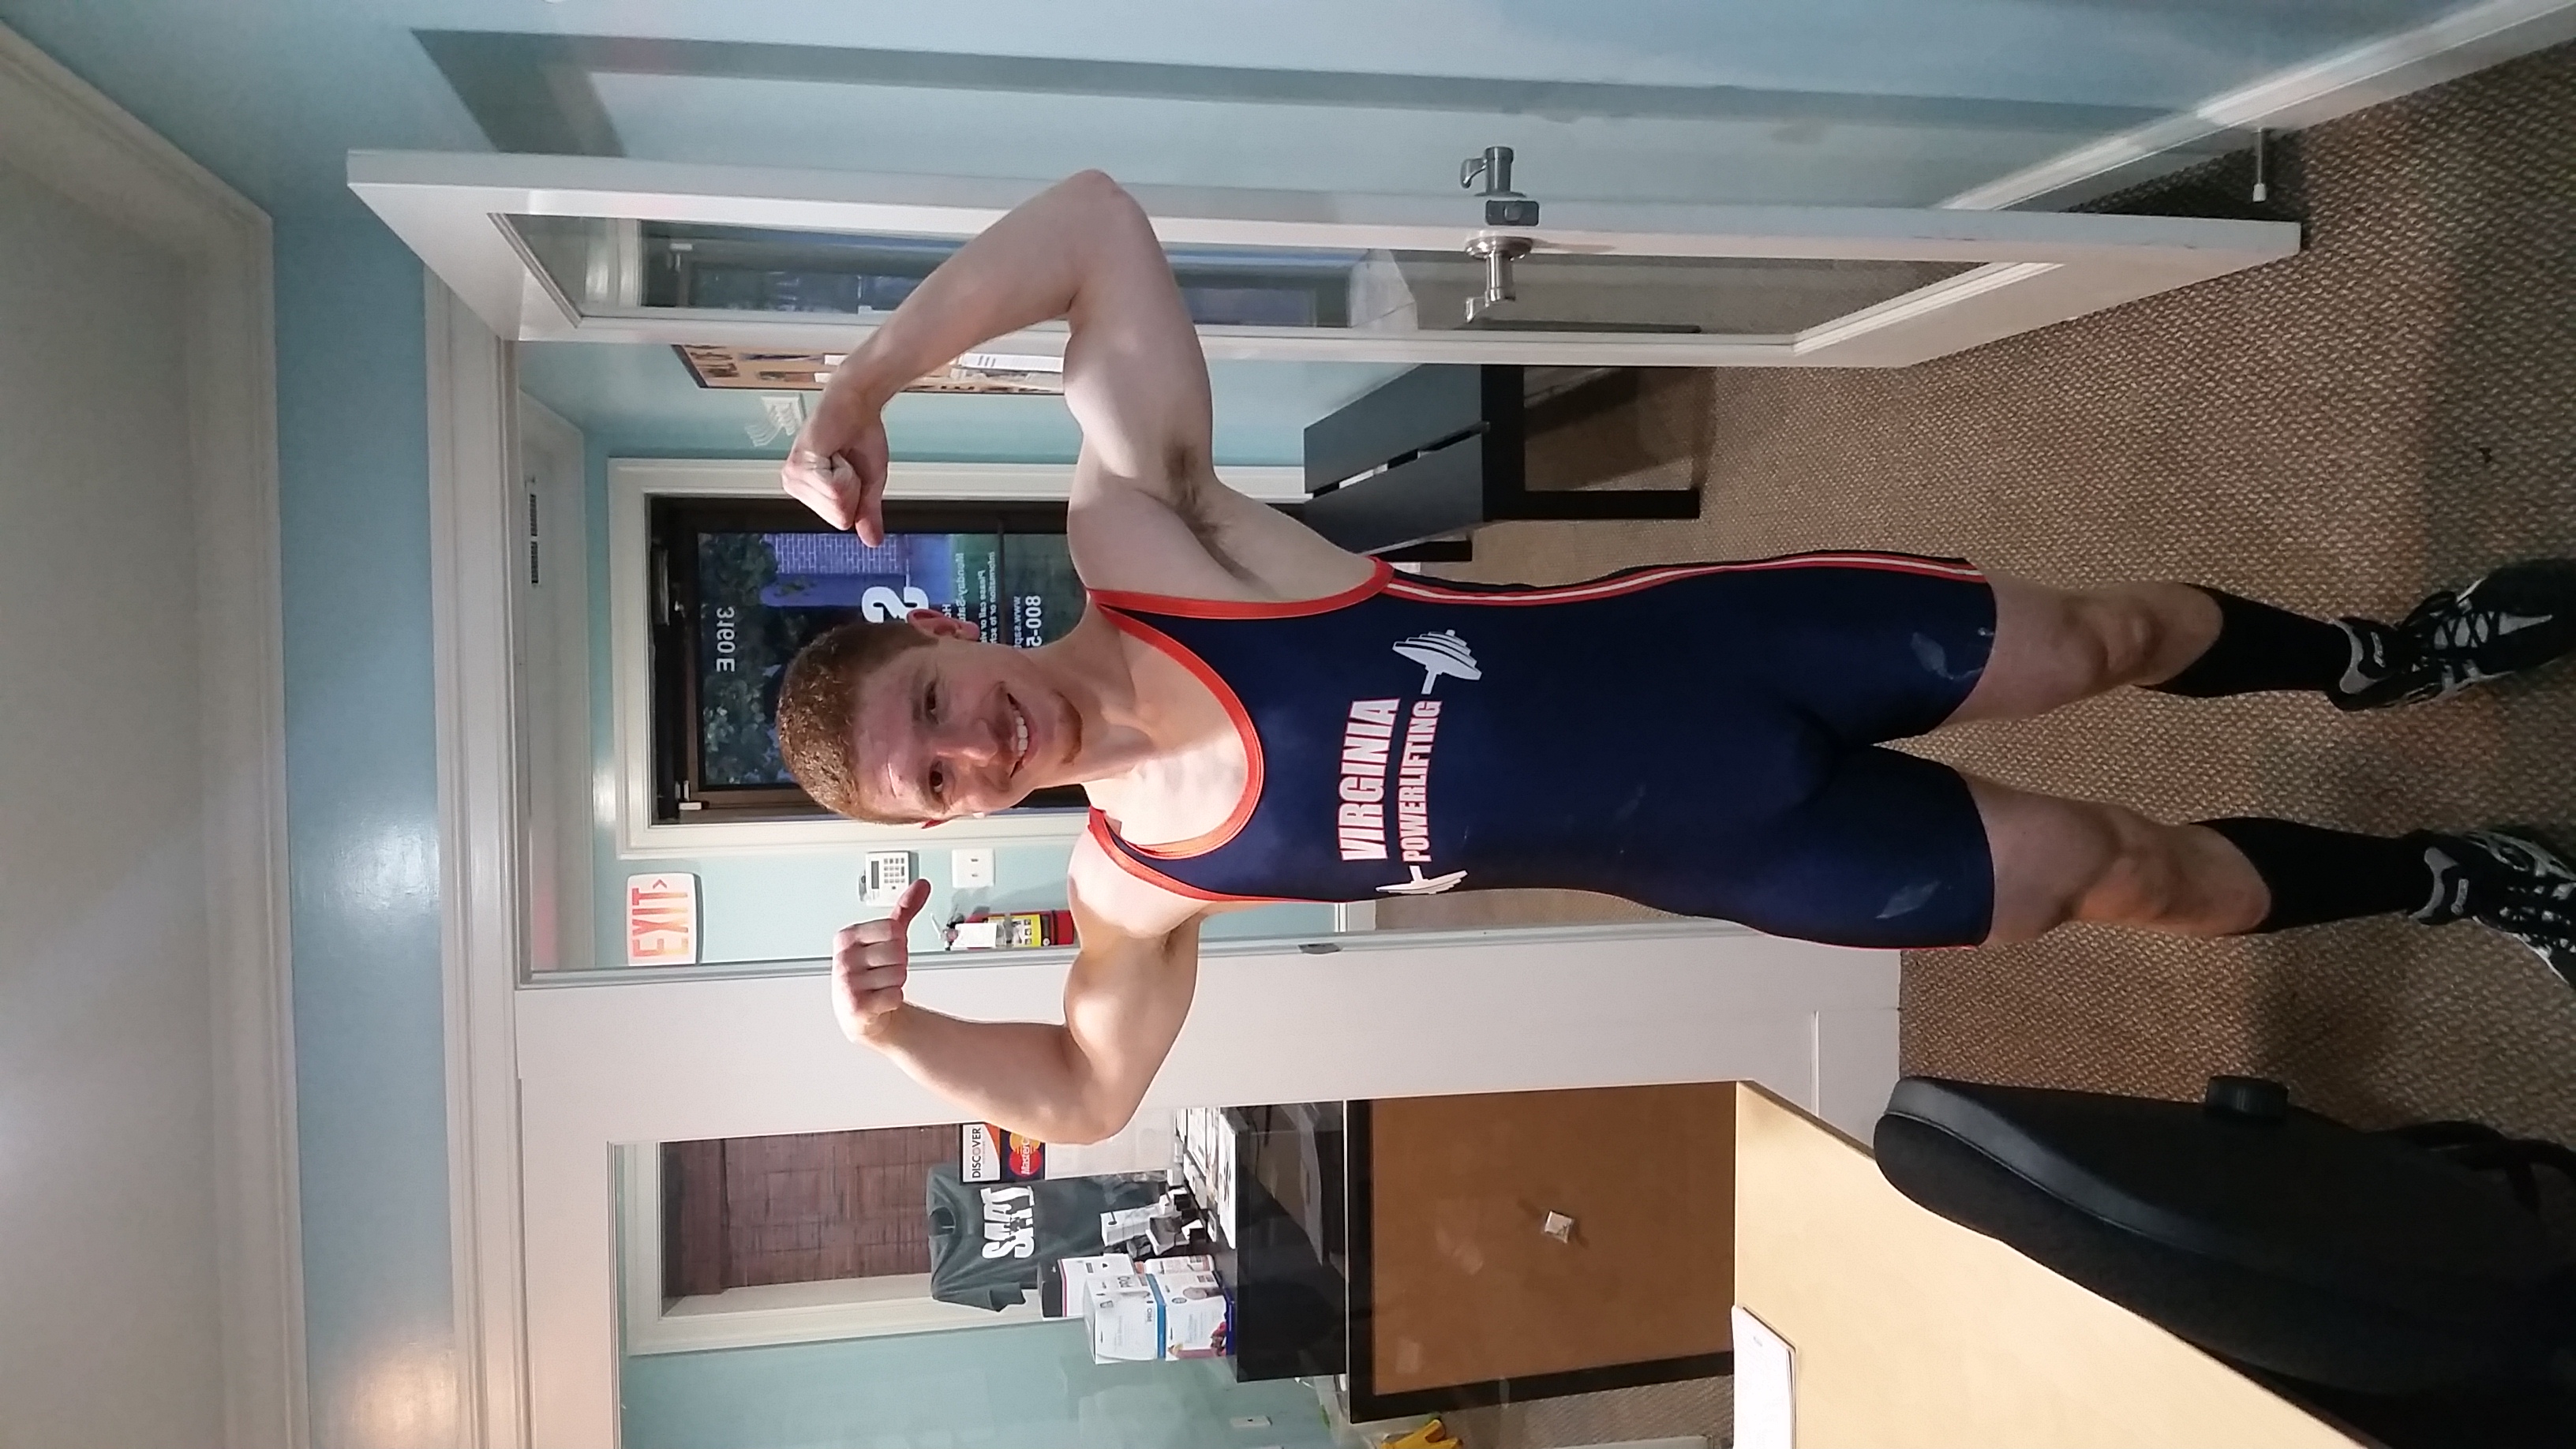
Name: Jake Shankman
Age: 20
School/Major: UVA - Computer Science
Sport: Competitive Powerlifter - 148 weight class.
Best Lifts
- Squat: 320
- Bench Press: 210
- Deadlift: 340
Favorite Lift: Squat
Fun Fact: Jake is an EXPERT Rockband drummer.
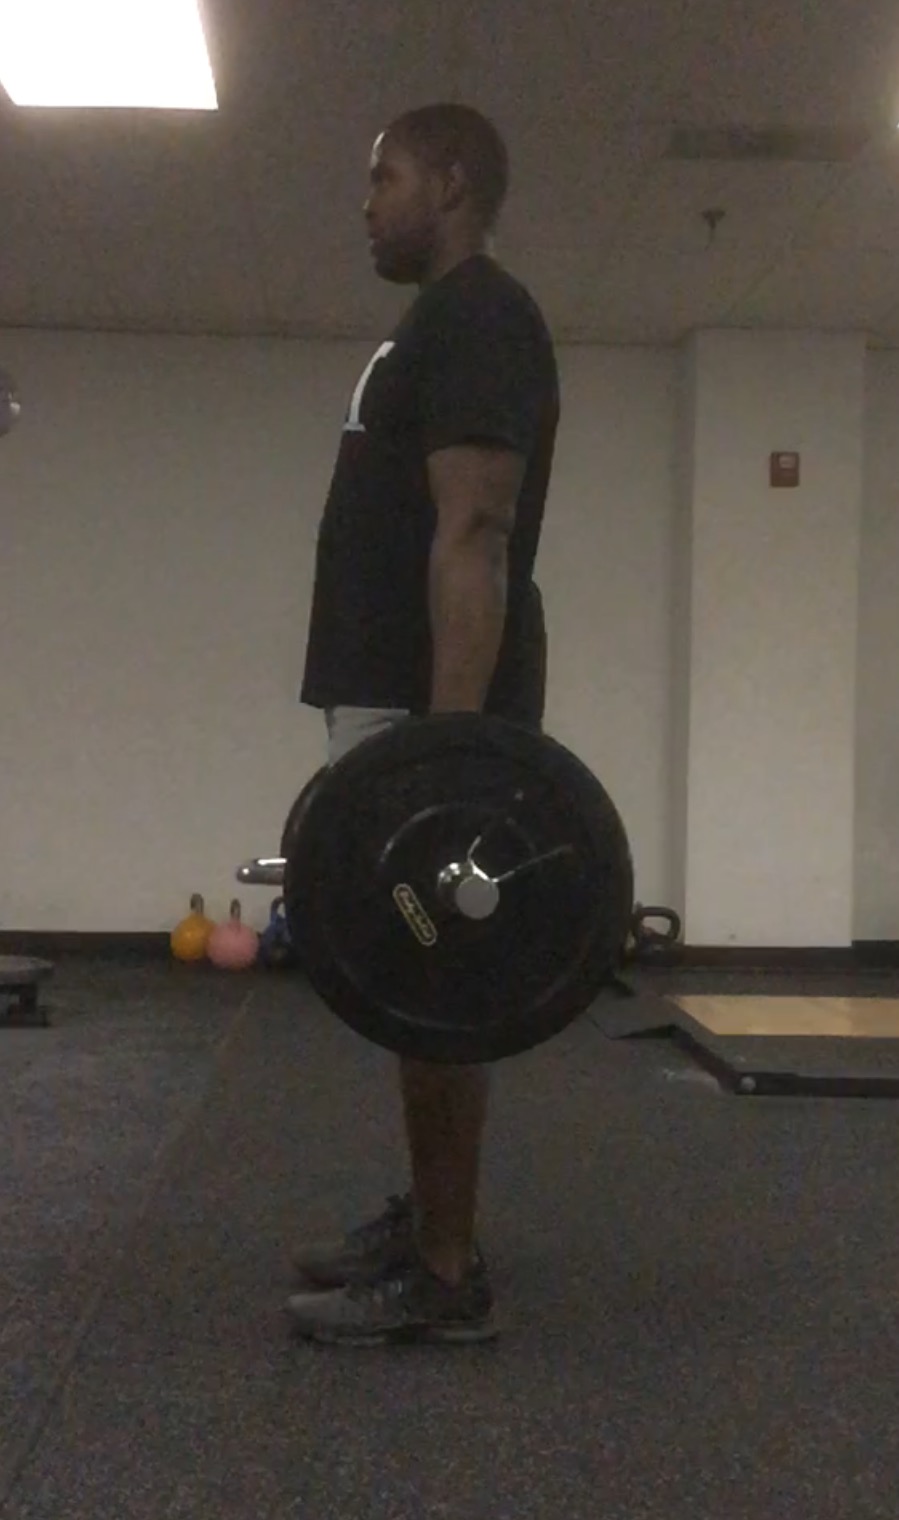
Jake has been training with SAPT for a full year now and his lifts have skyrocketed. His dedication and work ethic is truly unparalleled, and the focus he exudes while in the gym gives us coaches that fuzzy feeling deep down. You know the one. It's that feeling you get when your favorite song plays on the radio, or when you hit a new PR, or when you miraculously hit all green lights on the way to work. Jake is currently prepping for his 2nd powerlifting meet that will be held on June 13th, and Jarrett has been programming for him while he's been down at UVA. He returned to our facility a few weeks ago and it's really been spectacular watching him dominate the last few weeks of his meet prep program. We're all rooting for Jake and know he's going to absolutely crush his old PRs during his upcoming meet. Check out his third single of today's training session at 90% in the video below. Good luck at the meet, Jake!
4 Drills to Enhance Your Sprints
Now that the weather is finally more favorable, it's time to get outside and run around. Whether you're playing in a summer league for high school sports or you're an adult in the real-world and you join up with a grown-up league. Most field and court sports require quick bursts of speed to reach a ball or an opponent with the ball. Today I have some drills you can implement to work on that explosion and subsequent acceleration.
All of the drills would be best performed for 5-8 yds each for 2-3 sets of 2-4 reps. You'll want to keep the volume low to minimize fatigue. Each rep should be explosive and quick and you can't do that if you're tired.
In each drill you want to focus on a few things:
1. Apply as much force as possible on the first few steps-- think about exploding out of your shoes.
2. Maintain a tight core-- this will minimize any lateral movement thus streamlining your body as much as possible. Plus, you can transfer force from the ground through your legs more effectively through a stiff core than you can through a loosey-goosey one.
3. Maintain strong knee and elbow drive-- don't run like a limp noodle man
Without further ado...
Falling Start
If you have a hard time with acceleration, this is a useful drill as it forces you to lean forward (the acceleration phase requires a forward lean of the torso).
Side Start
Side starts are perfect for working on acceleration in the frontal plane, sideways, as most of the time in a game scenario, you won't start running in the saggital plane (straight forward).
PUPP to Start
It's also not guaranteed that you will always start sprinting after an opponent standing up. This drill teaches you how to drive forward from the ground and pop up quickly.
Barrel Roll to Sprint
Let's say you made a spectacular dive in a game, but you need to get back up on your feet. By practicing rolling, you will teach your vestibular (balance) system how to re-orient so you won't be caught unawares during the heat of the moment. At least two of my athletes reported rolling in a game and I personally witnessed another doing so during his game. I was so proud.
There you have it! Try those out the next time you find yourself on a field!
Want Nice Legs? Squat!
Last week, I introduced you all to my favorite movement of all time... the Squat! Whether your goal is fat loss, strength, speed, or just acquiring a nice set of legs, the squat will get you there. Today we'll explore a few more advanced variations of the squat pattern that you're sure to love.
-----
While the Goblet Squat and Double-KB Rack Squat are fantastic, they're truly best suited for beginners. I advise everyone I coach to start with these two variations, but our ultimate goal should be to move on to variations that allow for more load and better gains. That is where these next two variations come into play. They're the" bread and butter" squat variations for strength gains and will make you look like a total badass once you get proficient at them.
The Back Squat
The back squat is probably the most well-known squat variation out there. It's one of the three competitive lifts used in powerlifting and it happens to be my current favorite variation. The bar is supported on the back of the lifter's shoulders, where the lifter has drawn their shoulder blades back and created a shelf for the load to rest upon. You then simply hinge back and squat down, attempting to keep the bar path as straight as possible on the way up and down.
Unfortunately for the youth athletes of today, the back squat typically is one of the first lifts that a high school athlete will be introduced to in their weight room. This is fine if the athlete is a competent squatter and can utilize proper form, but, in my experience, this simply isn't the case for a bunch of 14/15 year olds who've never undergone a proper strength and conditioning program. This is why we use the golbet squat as a introduction to the squatting pattern. Once we have a proficient, and strong, goblet squatter, we can move onto these more advanced variations.
The Front Squat
Another absolutely awesome squat variation, the bar rests on the front of the shoulders in the front squat. The load placement allows the lifter to maintain a more upright torso during the movement, which may be better for individuals who have trouble keeping a neutral lumbar spine during a back squat or for those who suffer from low back pain.
Due to the fact that the lifter maintains a more upright torso in this variation, the posterior chain (glute, hammys, spinal erectors) are emphasized less than in a traditional back squat. The front squat, therefore, tends to be more universally accepted as a more quad-dominant squatting variation.
These truly are two fantastic squat variations. The use of the barbell allows for considerably heavier loading, which will come in handy when the athlete begins double-kb front squatting with two 53 pound kettlebells. That's a lot of load to get into the proper position and to maintain proper upper body positioning with.
Pro-Tips
Last week I provided you with a simple linear progression scheme that you can apply to your training. This week I'm going to continue my streak of giving by providing you with a few tips regarding the set-up in the back squat. See the video below!
The Power of Squatting
Ask most of our athletes what my favorite lift is, and they'll probably tell you it's the deadlift. Now, while I do truly love the sound of iron hitting the ground only to be hoisted up once again, another exercise will forever hold a special place in my heart. That exercise would be the squat.
Front squat, back squat, low bar, high bar, overhead... it really doesn't matter. They're all fantastic variations of a basic movement pattern that everyone would be wise to adopt into their exercise routine.
Oftentimes I hear people claim they can't perform squats in the gym because they don't have a partner to help spot them. While I appreciate the insistence on safety, there are ways to get around this issue and still train the squat pattern, so quit being lazy and get squattin'!
___________________________________________________________________________________
Today we'll go over two squat variations that you can perform without a spotter, and a system for ensuring steady, consistent progression.
The Goblet Squat
I'd reckon that the goblet squat may be the most underrated, and possibly unknown, exercise of all time. It's really a shame too, because this exercise done properly has almost unlimited potential for progression. You can add load, you can add reps, you can manipulate tempo; the options are truly endless. The goblet squat is appropriate for beginners, it works well for the intermediate, and can even be utilized effectively by even the most advanced trainee.
Check out the video below for a quick overview of how to perform the goblet squat correctly.
Goblet Squats can be performed with kettlebells or dumbbells. This is the proper way to hold a dumbbell when performing goblet squats.
Double Arm Racked Squat
The natural progression from the goblet squat, this variation allows us to add more load to the trainee while also preparing them for more advanced variations. Like the goblet squat, the placement of the load on the front of the shoulders forces the athlete's torso into a more upright position, applies a training stimulus to the upper body musculature, and provides a natural progression to a front squat with a barbell.
Check out the video below for a brief tutorial.
This is the proper way to hold dumbbells when performing Double Arm Racked Squats.
A System of Progression
As you know from my recent blog posts, the key to gaining strength is following the principle of progressive overload. Simply put, you need to be doing more work today then you did last week, more work next month than you completed this month. It's all about increasing the volume of your training over time. This following system of linear progression will provide you with a simple, and effective, way of doing just that.
The first thing to do would be to pick a weight that you can squat about 9 or 10 times before your form breaks down. This will be your working weight for the first cycle. For the below example, we'll start with a working weight of 35 pounds.
Wk 1: 35lbs - 3 sets of 7 reps
Wk 2: 35lbs - 3 sets of 8 reps
Wk 3: 35lbs - 3 sets of 9 reps
Wk 4: 35 lbs - 3 sets of 10 reps
You may be thinking, "But Charlie, if I could only squat 35# 10 times the beginning of this program, how do you expect me to complete 3 sets of 10 by week 4??" This is the great thing about following this system. You'll be stronger by the time you hit week 4, and that weight that you could only previously squat for 10 repetitions, you can not squat for 12 to 15! It's simple, effective, and the perfect method for improving the performance of a beginner lifter.
After week 4 you will bump up the weight 5 pounds and start all over again. This provides a nice, clean way of progressively increasing your total volume without over-stressing your system.
Wk 5: 40lbs - 3 sets of 7 reps
Wk 6: 40lbs - 3 sets of 8 reps
Wk 7: 40lbs - 3 sets of 9 reps
Wk 8: 40lbs - 3 sets of 10 reps
And so on and so forth.
If you haven't actually taken the time to jump on a progressive system, now is the time to do it! Take these awesome squat variations, this simple method of increasing volume over time, and apply it to your next month of training!
Working Around Your Back Pain. . . The Trap Bar RDL

Those who suffer from low back pain cause sometimes be left no other option than to get a little creative to manage or work around movement patterns that aggravate the low back. One exercise that I recently started toying around with and thought I’d share is the Trap Bar RDL. The RDL is frequently used because of its ability to build strong glutes and hammies but performing this exercise with the traditional barbell places the load out in front of your body which creates a moment arm between your pelvis and the barbell that’s just long enough to cause pain and discomfort for some. The magic of the Trap Bar RDL lies in the fact that the load lies directly over you base of support (your feet) which takes some strain off of the lumbar spine. The set up and execution for the trap bar version of this movement will be the same as that of the traditional RDL. Whether you have low back pain or not the Trap Bar RDL is a wonderful tool to insert into you training and programming arsenal.